 Here is my first attempt at real snazz and pizazz. It was a friends birthday and I thought ‘A-ha! Here is the perfect opportunity to practice my decorating skills, which have sometimes been shoddy to say the least.
So I’ll start with the inside. The sponge. A simple vanilla sponge that I coloured pink.

Ingredients:
Batter
250g unsalted butter at room temperature, plus extra to grease
250g golden caster sugar
5 eggs
250g self-raising flour, sifted
1 tsp vanilla extract
Red food colouring paste (I used ‘Sugarflair Paste Concentrated Food Colour’. It’s intense. Use sparingly! You can always use the normal more watery dye too, just add more to the cake batter.)
Buttercream icing
225g unsalted butter at room temperature
525g icing sugar
6 tbsp milk
Methods:
- Grease and line the base of two 8in sandwich tins with greaseproof paper. Preheat the oven to gas mark 4.
- In a large bowl, beat together the butter and sugar with an electric hand whisk until pale and fluffy. Add the vanilla essence.
- Add the eggs one at a time, beating well after each one, then fold in the flour using a large metal spoon.
- Split the mixture into two bowls. Add a smidge of red food colouring to each, one more in the other just for change. Mix thoroughly.
- Pour the mixtures into a tin each. Bake in the centre of the oven for 30mins until the cakes are well risen and spring back when you press lightly in the centre. (I had to cook for quite a bit longer than the recipe said, so do keep checking by inserting a skewer or knife all the way through the cake. If wet mixture comes out, which mine did repeatedly (grr), then keep on baking)
- Turn out, remove the lining paper and leave to cool on a wire rack.
- Meanwhile mix all the buttercream ingredients together. I do this in the food processor to save the icing sugar poofing all over the place. Add a small drop of red dye. So small it looks pale pink.
The construction:
I don’t have one of those rotating cake stands to make icing easier, so I made one! I placed the cake on a circular board and placed that on top of a large tin. Worked perfectly. First job before the fun decorating part was the crumb coating. This is done by spreading a fine layer of buttercream all over the cake to seal in the crumbs. Use a palette knife to do this. It’s not supposed to look pretty or perfect and it is supposed to look crumby. Literally. Remember to also put a thick layer of buttercream between the two layers of sponge. Once done place it in the fridge for 20 mins or so to harden. This seals the crumbs to the buttercream and makes sure none of the little blighters pop up in the pretty decorating later. Check out youtube tutorials to see how its done properly.
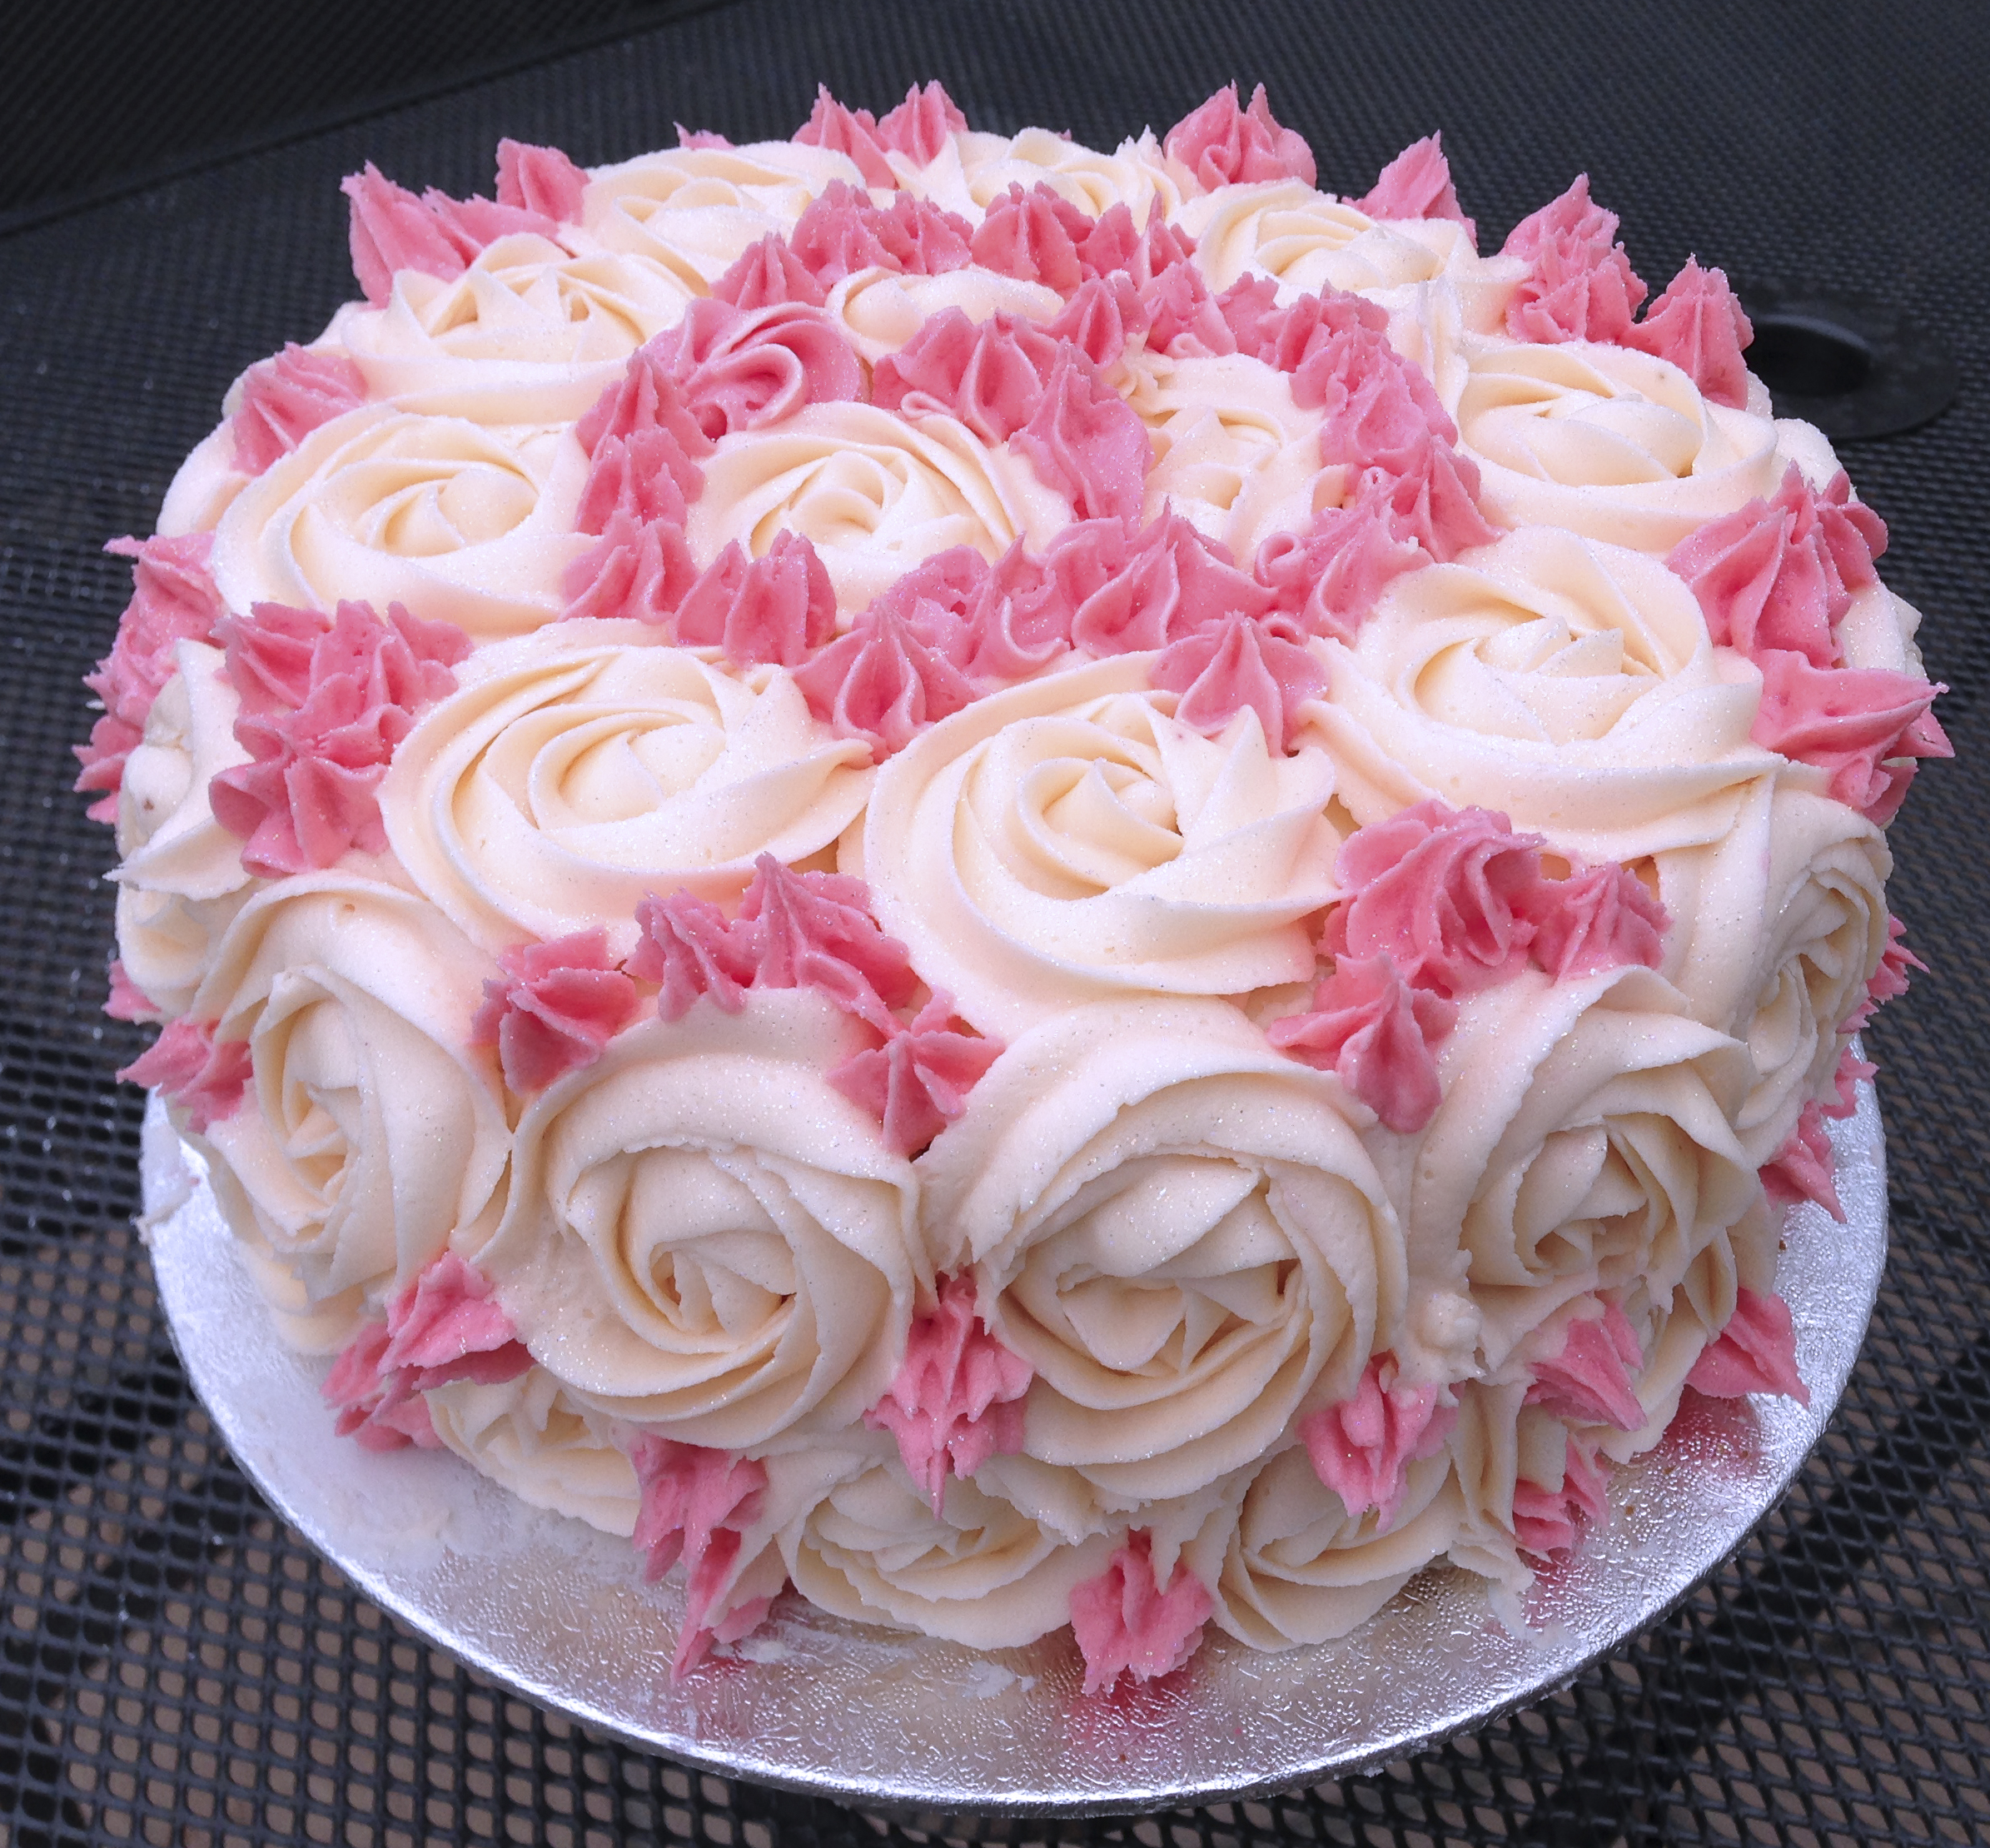
Next, the fun part. I’d say that technically this wasn’t that hard. Once you’ve practiced a few roses and got those right, it’s really just a repetitive job. I actually had intended to create the ruffle effect. But I failed. Dismally. I knew how to make roses from the countless cupcakes I have made. And if you have the trusty Wilton 1M nozzle, the jobs a good’un. I found youtube videos to give me some tips. A good one is, when doing the outside top edge make sure the rose goes over the edge a bit, onto the top flat surface. Otherwise you’ll see masses of cake edge. Always work your roses from the inside out and GO SLOW. I don’t know how to do a neat finish, I just gently pull the piping bag away and hope for the best. Sometimes it looks messy, sometimes it looks neat. It doesn’t really matter in the end. The darker flowers I did were to fill in the holes. Once all the large roses were completed I added more dye to the buttercream. Using a new bag but the same nozzle and simply pushed the nozzle into the holes, giving the bag a squeeze and lifting it out. No circular movements needed. You do need to press quite hard or the icing can drop off. They look like those iced gem sweets of yesteryear. Can you still get those? I digress… So there you have it! A very lovely looking cake that’s really not that hard to do. Oh yes and as usual, I finished off the cake with lots of glitter.
 Ok so I have a confession. Originally I planned to have a layer of pink sponge, and a layer of purple. Well, I don’t have purple so I tried to make it by mixing red and blue. I was certain I had done it before with success. Perhaps I was wrong. Because it went a truly nasty brown sludgy colour! It was hideous. But I didn’t want to have to make yet more buttercream. So I added lots of red paste and it made that dark dusky pink colour, Which I thought was acceptable. Just not what it was supposed to be.
This cake was one of my biggest challenges. It wasn’t perfect and there were hiccups and physical pain (hand cramps from continuous piping). But it was worth it in the end. The birthday girl loved it and that was the main thing. Happy Birthday Amelia!
Sasa x
